Import Your Email List

Importing an email list into Send Onyx is a crucial process for users who have compiled their subscriber lists externally. It allows for easy migration of contacts into the platform, enabling you to start email campaigns quickly and efficiently.
Preparing Your Email List for Import
Before importing, ensure your list is in a compatible format, typically CSV (Comma-Separated Values). Your CSV file should have clearly defined columns, like Email, Name, and other relevant information.
Cleaning Your List
- Remove Duplicates: Ensure there are no duplicate entries in your list.
- Format Correctly: Check that emails are properly formatted (e.g., [email protected]).
- Remove Invalid Emails: Eliminate any emails that are clearly invalid (e.g., missing ‘@’ symbol).
Steps to Import an Email List into Acelle Mail
Step 1: Access the List Import Feature
- Log in to Send Onyx: Enter your account to access the dashboard.
- Navigate to the List: Go to the ‘Lists’ section and select the list you want to import contacts into.
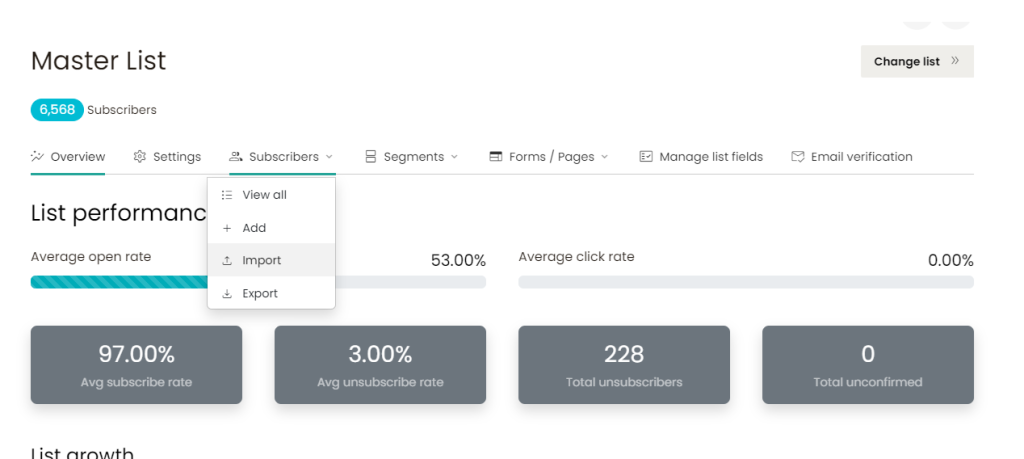
Step 2: Initiating the Import Process
- Select ‘Import’: Within the chosen list, look for an option to import subscribers, found in the list’s options or settings.
- Choose Your Import Method: Select the method of import, typically by uploading a CSV file.
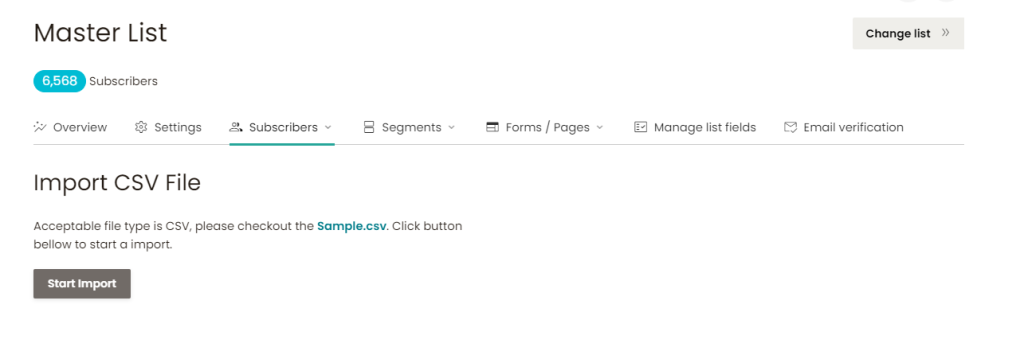
Step 3: Uploading Your Email List
- Upload the CSV File: Click the upload area or use the provided field to select and upload your CSV file from your computer.
- Map Fields: Ensure that the columns in your CSV file correctly correspond to fields in Acelle Mail (e.g., the ‘Email’ column in your CSV matches the ‘Email’ field in Acelle Mail).
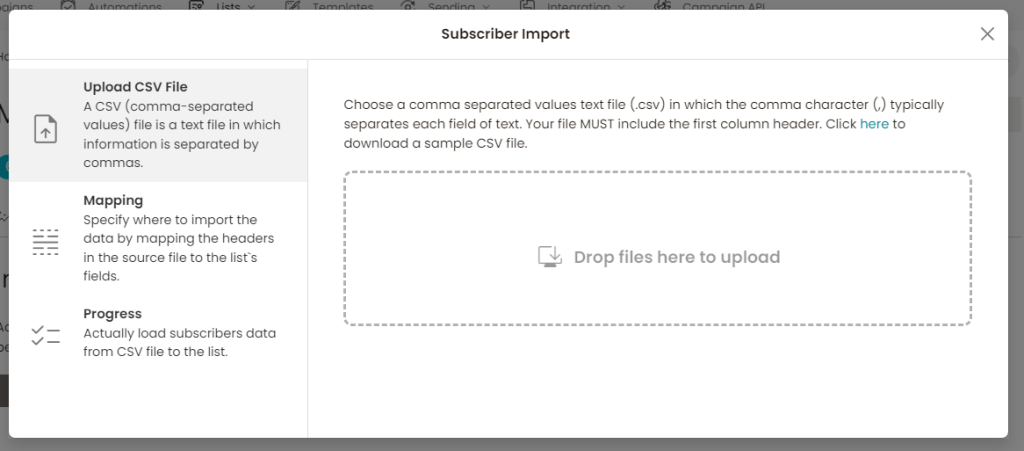
Step 4: Review and Finalize Import
- Preview the Import: Send Onyx will provide a preview to verify that the data is correctly mapped and formatted.
- Complete the Import Process: If everything looks correct, proceed to finalize the import. Send Onyx will then process the file and add the contacts to your list.
Tips for Successful List Import
- Check for Errors: After importing, review the list in Acelle Mail to ensure there are no errors or unexpected data entries.
- Segment as Needed: Consider segmenting your list post-import for more targeted campaigns.
- Stay Compliant: Make sure you have consent to email the contacts on your list and comply with email marketing regulations.
Importing an email list into Send Onyx is a key step in transitioning to or scaling up your email marketing efforts. By following these instructions, you can ensure a smooth and efficient import process, setting a solid foundation for your future email campaigns.