Integrate Your Website With Sendonyx

Integrating your website with Send Onyx is a crucial step for streamlining your email marketing efforts. This integration allows you to connect your website’s subscriber forms, eCommerce platforms, or other user interaction points directly with Send Onyx. The process helps to automate subscriber list updates and enhances the efficiency of your email marketing campaigns. This article provides a detailed guide on how to add and connect your website to Send Onyx
Benefits of Website Integration
- Automated Subscriber Management: Seamlessly add new subscribers from your website to Send Onyx lists.
- Real-Time Data Syncing: Keep your email lists up to date with real-time data from your website.
- Personalized Campaigns: Utilize user data from your website to create personalized email marketing campaigns.
- Increased Efficiency: Reduce manual data entry and streamline your email marketing process.
Steps to Add and Connect Your Website
Step 1: Accessing Integration Options
- Log Into Your Account: Open your dashboard.
- Navigate to ‘Integration’: Find the ‘Integration’ section in the main menu.
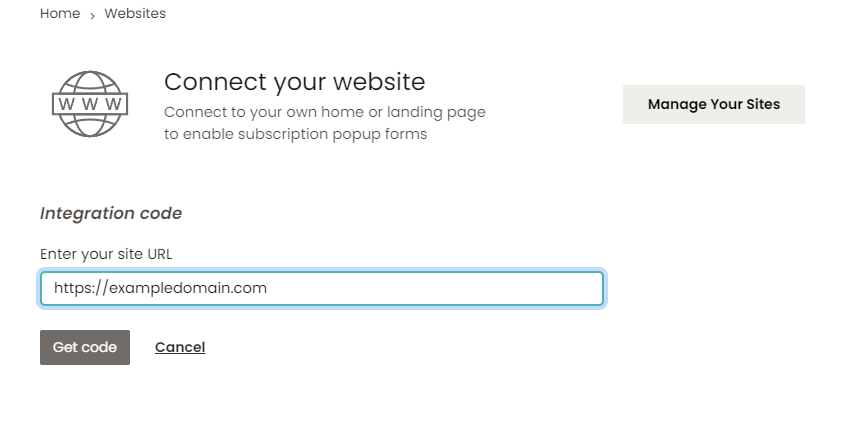
Step 2: Adding Your Website
- Select ‘Add Your Website’: In the Integration section, look for an option to add your website.
- Enter Website Details: Provide your website’s URL and any other required information.
- Choose Integration Type: Depending on your website’s platform (e.g., WordPress, Shopify), select the appropriate integration type.
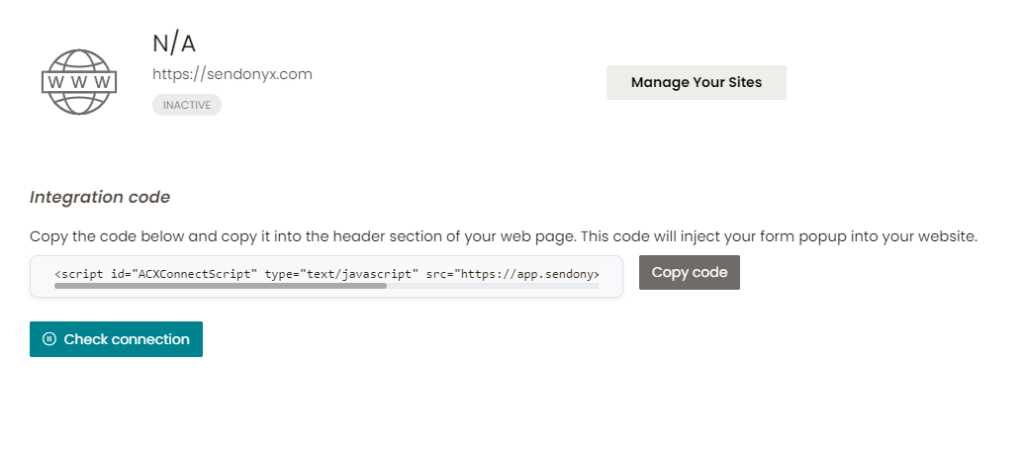
Step 3: Generating Integration Code
- Get the Code or Plugin: Send Onyx will generate a custom integration code or offer a plugin (for platforms like WordPress).
- Copy the Code or Download the Plugin: If it’s a code, copy it to your clipboard.
Step 4: Implementing on Your Website
- Paste the Code: If you’re using a code, paste it into the appropriate section of your website’s backend (usually within the HTML of your site’s header).
- Install the Plugin: For WordPress users, upload and activate the plugin through the WordPress dashboard.
Step 5: Testing the Integration
- Verify Integration: Check if the integration is active by testing a form or action that should trigger a data sync with Send Onyx
- Check Subscriber List in Send Onyx: Ensure that new data from your website is reflected in your subscriber lists.
Step 6: Finalizing and Monitoring
- Finalize Settings: Make any necessary adjustments in Sendonyx to accommodate the data from your website.
- Regularly Monitor: Keep an eye on the integration to ensure continuous and proper data syncing.
Conclusion
Integrating your website enhances the effectiveness and efficiency of your email marketing campaigns. By following these steps, you can ensure that your website and Sendonyx are seamlessly connected, allowing for automated data transfer and improved campaign targeting.