Navigating the Dashboard

Basic Account Overview
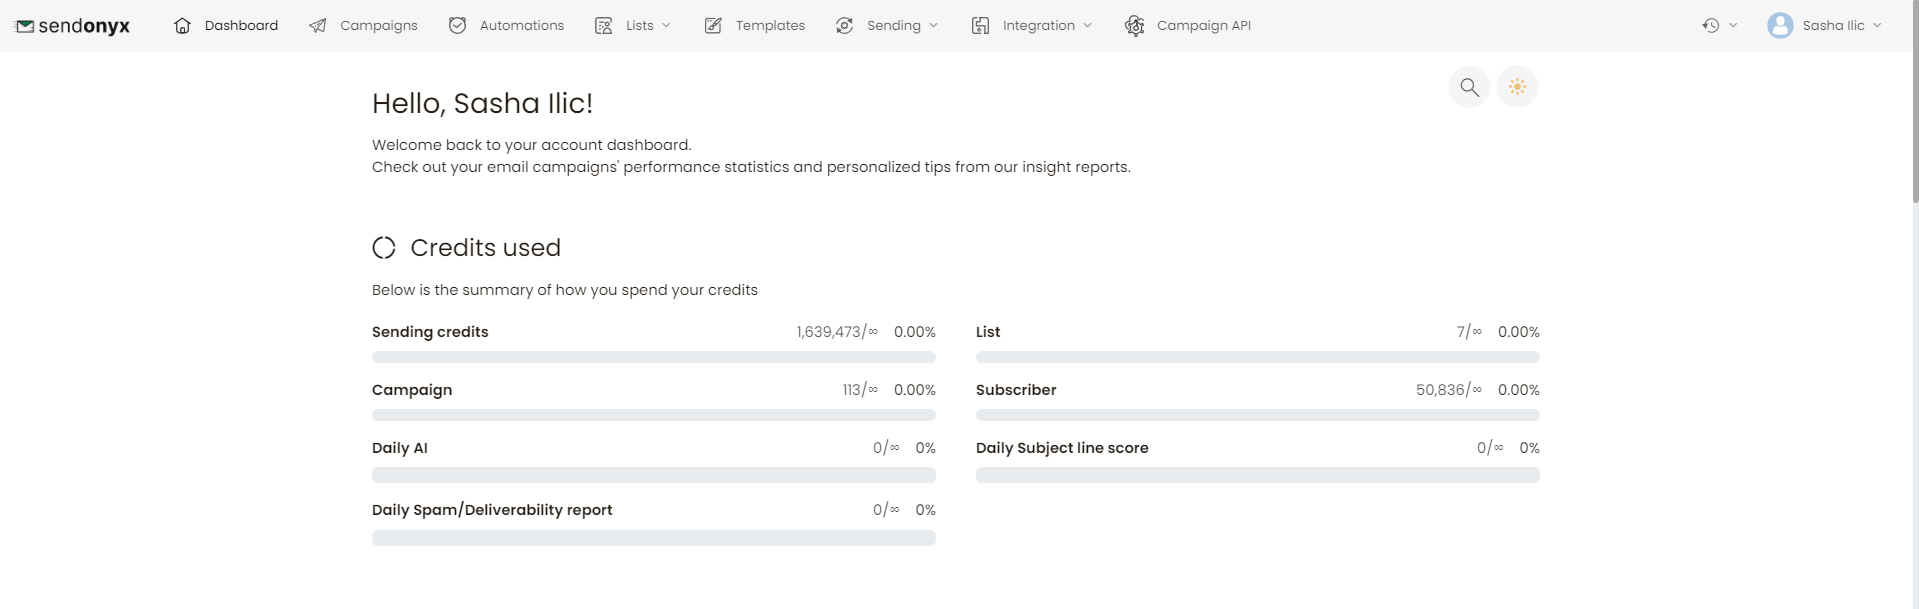
Once you log in, you’ll be greeted by the Send Onyx dashboard. It’s important to familiarize yourself with this interface, as it will be your central hub for all email marketing activities. Here’s a brief overview of key sections:
Dashboard Overview: This is the main page you see upon logging in. It provides a quick summary of your recent campaign activity, subscriber growth, and other relevant metrics.
- Campaigns: Here, you can create, manage, and track your email campaigns. This section allows you to design emails, set up recipient lists, and analyze campaign performance.
- Lists & Subscribers: This area is dedicated to managing your email lists and subscribers. You can create new lists, import subscribers, and organize them based on various criteria.
- Automation: In this section, you can set up automated email sequences, such as welcome emails, follow-ups, and other behavior-triggered emails.
- Templates: Send Onyx offers a range of pre-designed email templates. Here, you can select, customize, and save templates for your campaigns.
- Reports: This is where you’ll find detailed analytics about your email campaigns, including open rates, click-through rates, and subscriber behavior.
- Settings: Here, you can configure your account settings, including email authentication, API access, and other preferences.