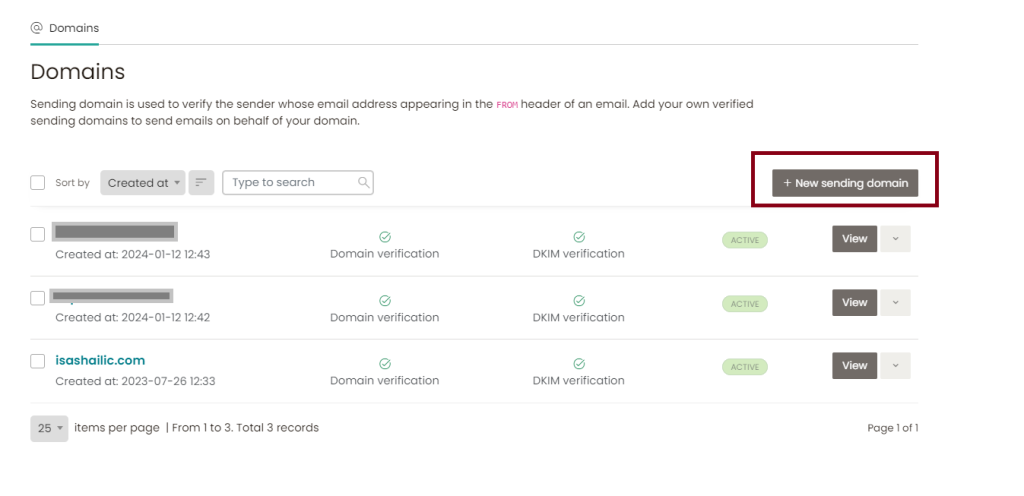
Verify Sending Domain

Configuring your sending domain correctly is key to ensuring your emails are trusted and reach the inbox.
Steps for Sending Domain Setup
- Domain Selection: Choose a domain that represents your brand or organization.
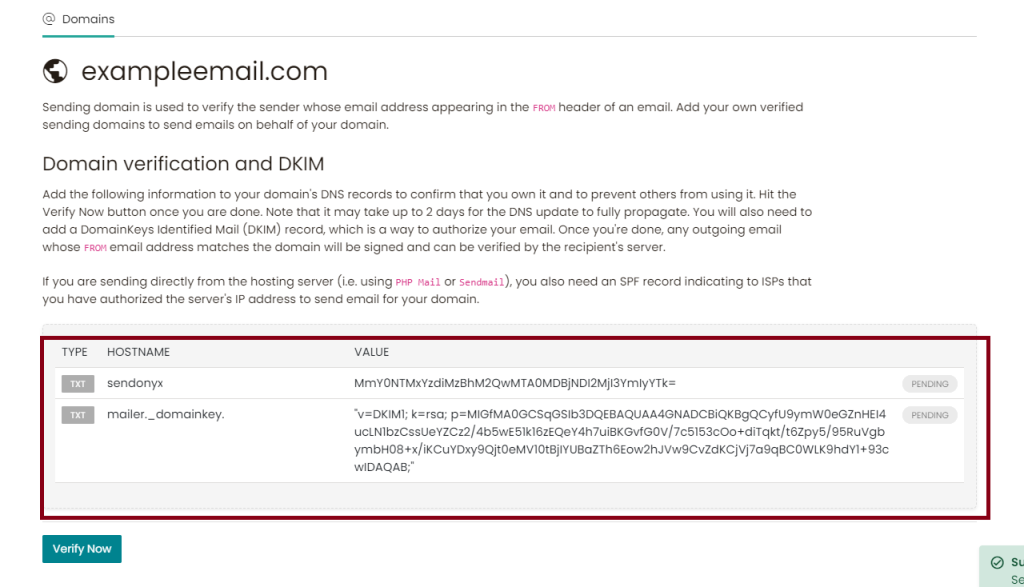
- Configure DNS Records: Add the necessary SPF, DKIM, and DMARC records to your domain’s DNS settings.
- Verify the Domain in Send Onyx: Within Send Onyx, use the domain verification tool to confirm that your DNS records are correctly set up and that your domain is ready for sending emails.
Tips for Sending Domain Setup
- DNS Propagation Time: Remember that DNS changes can take some time to propagate, so be patient after making changes.
- Regularly Check DNS Health: Use tools to periodically check the health of your DNS settings, ensuring SPF, DKIM, and DMARC records remain valid.
- Align with Brand Identity: Ensure your sending domain aligns with your brand for consistency and recognition.
Each of these sections provides focused guidance on setting up critical aspects of your email system within Send Onyx Proper configuration in these areas is fundamental for effective email delivery and building trust with your audience. The next sections of the knowledge base will delve into creating and managing email campaigns, automating workflows, managing subscriber lists, and other advanced features of Send Onyx.