Verify Sending Identity

A verified sending identity is crucial for building trust with your recipients and improving email deliverability.
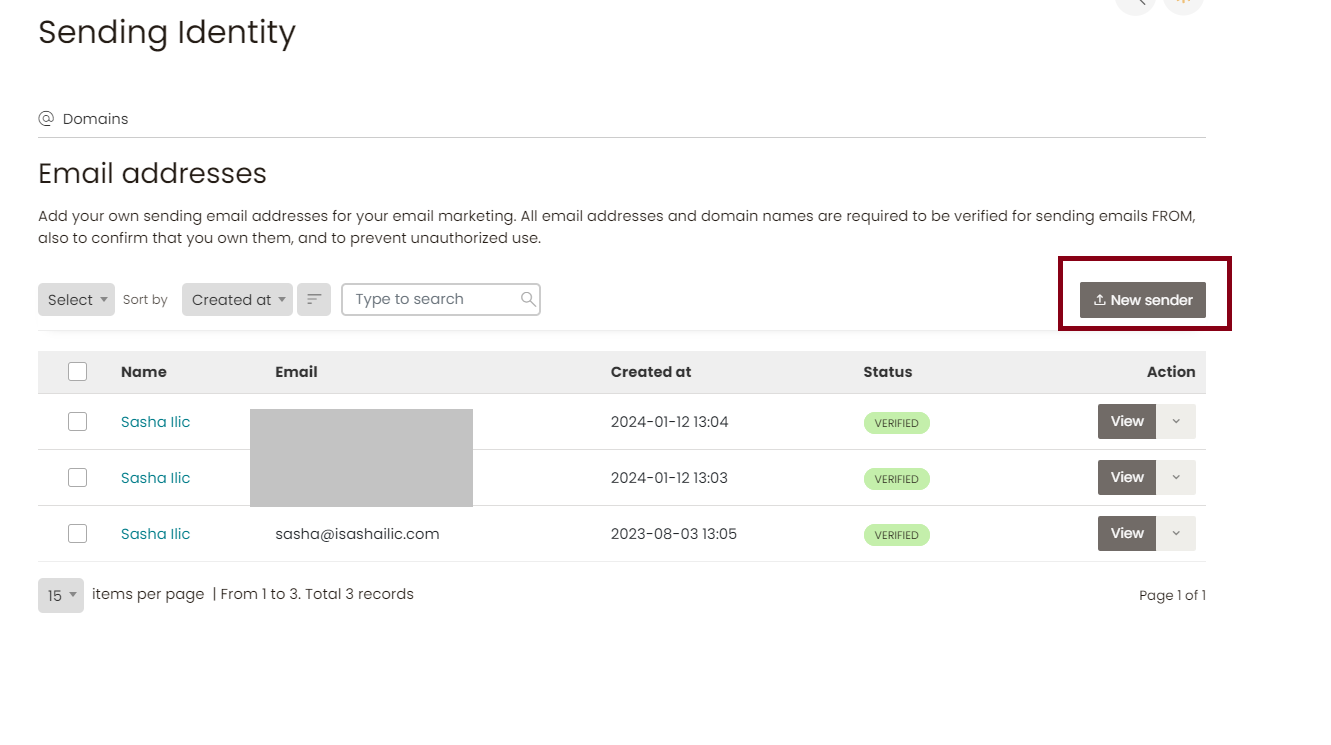
Steps to Verify Your Sending Identity
- Choose an Appropriate Email Address: This should ideally be an address associated with your domain (e.g., [email protected]).
- Verification Process: After entering your email in SendOnyx > Sending > Sending identity section, a verification email will be sent. Click the link in this email to complete verification.
- Consistency in ‘From’ Name: Use a recognizable ‘From’ name to maintain consistency and recognition.
- Avoid email addresses similar to the following: admin@ office@ info@ support@ and similar. These email addresses tend to end up in SPAM folder which we want to avoid.
Tips for Setting Up Sending Identity
- Maintain Consistency: Use the same ‘From’ name and address for all your campaigns.
- Regular Verification: Periodically check to ensure that your sending identity remains verified.